HR Reference Check Guide Form
Reference Check Guide Form
The Reference Check Guide Form is used by the HR Division to record reference verification feedback for candidates as part of the hiring process.
| Role | Access Rights |
|---|---|
| HR Manager and Staff | Can create, complete, and submit the Reference Check Guide Form. |
| Hiring Manager | Can create, complete, and submit the Reference Check Guide Form. |
| Other Roles | Not permitted to access or view the form. |
Submit a Reference Check Guide Form
Steps to submit the Reference Check Guide Form
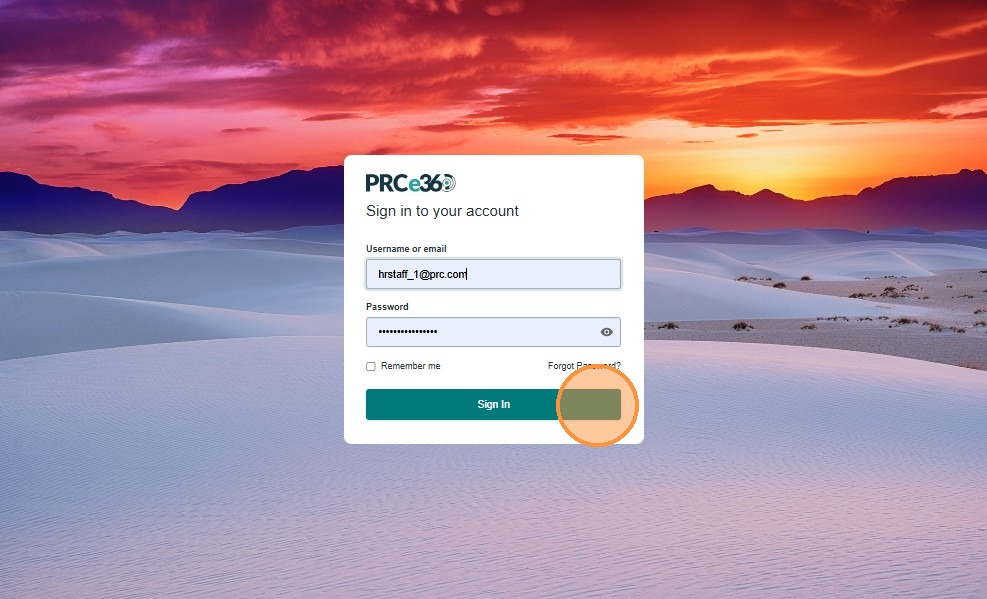
- Enter your username/email and password.
- Click Sign In to access the system.
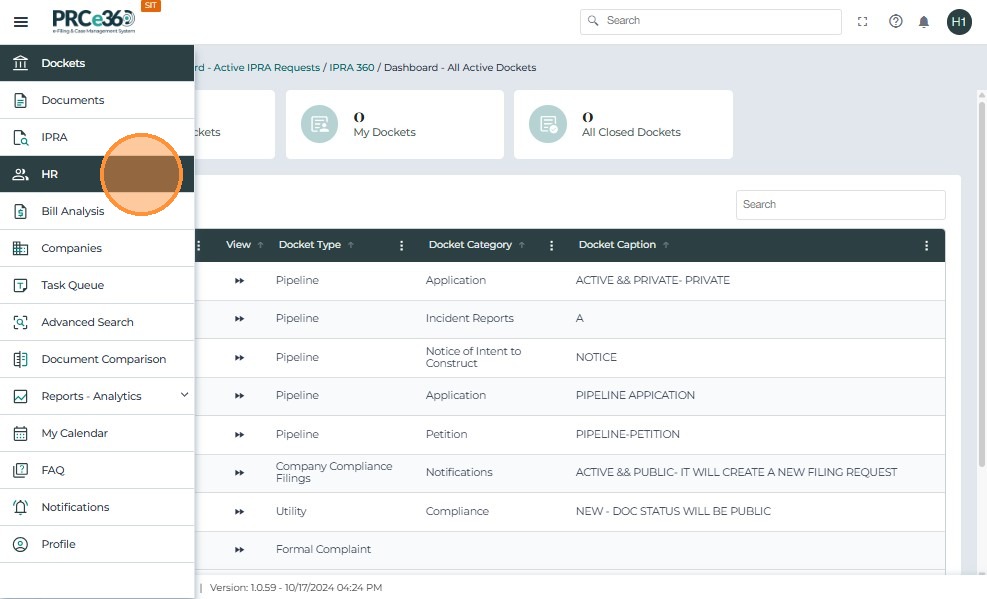
- Once logged in, click the menu icon on the left navigation bar.
- From the menu options, select HR to open the HR Dashboard.
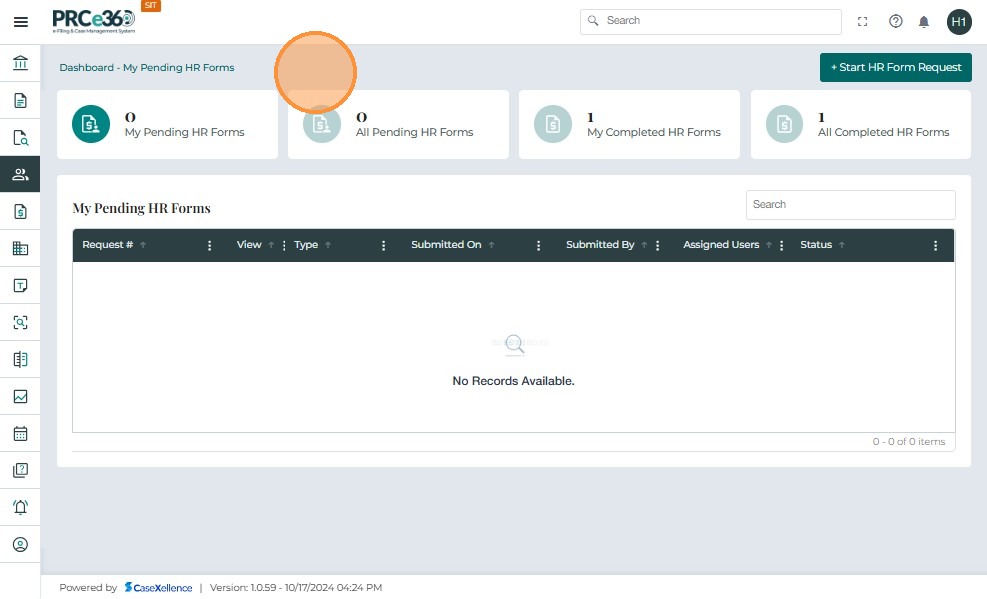
Once inside the HR module, the HR Dashboard displays an overview of your form activity:
- My Pending HR Forms – forms that are saved but not yet submitted.
- My Completed HR Forms – forms you have completed.
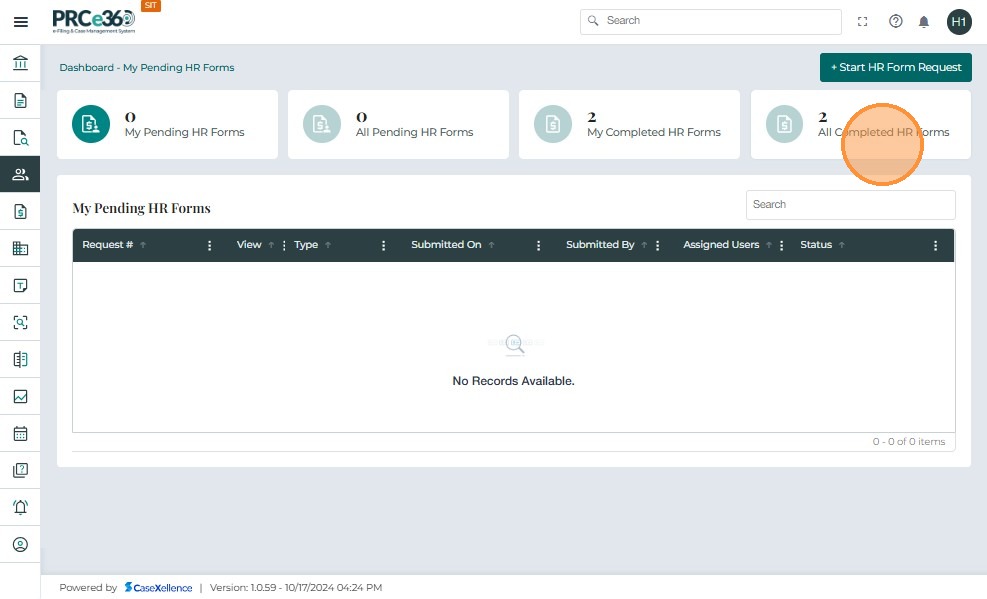
- All Completed HR Forms – all forms completed by HR users.
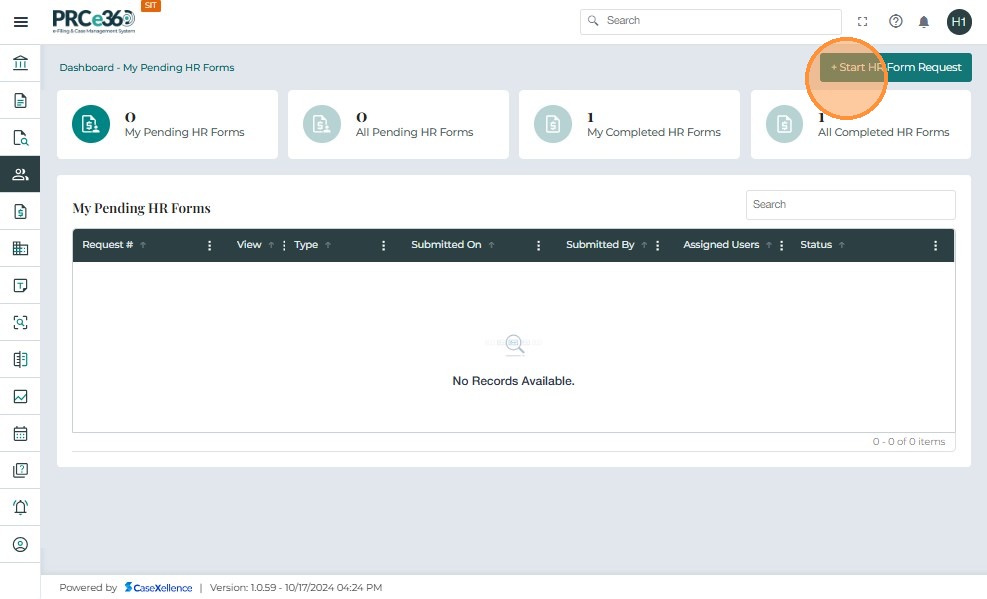
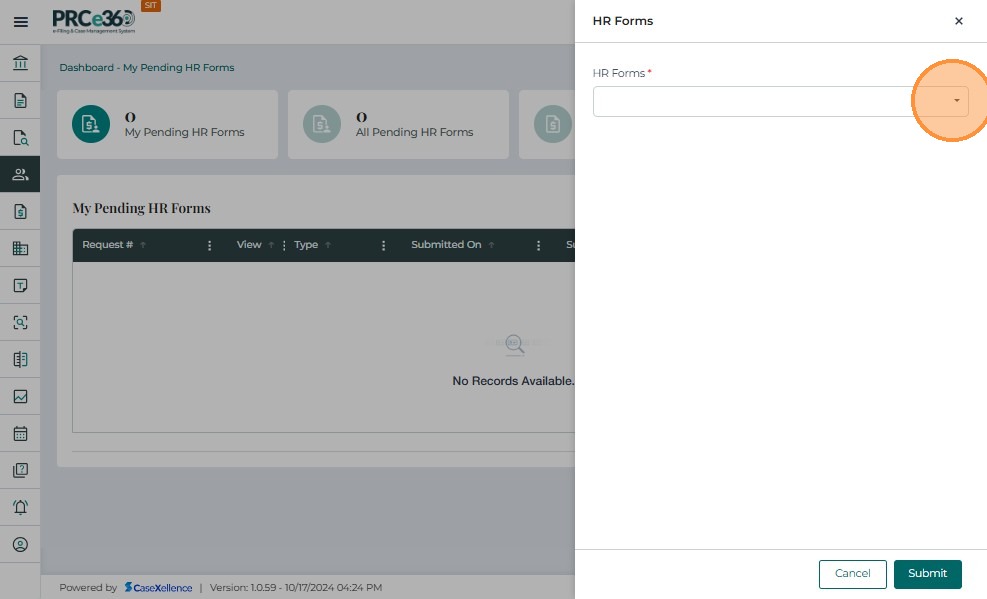
- Click the + Start HR Form Request button in the top-right corner.
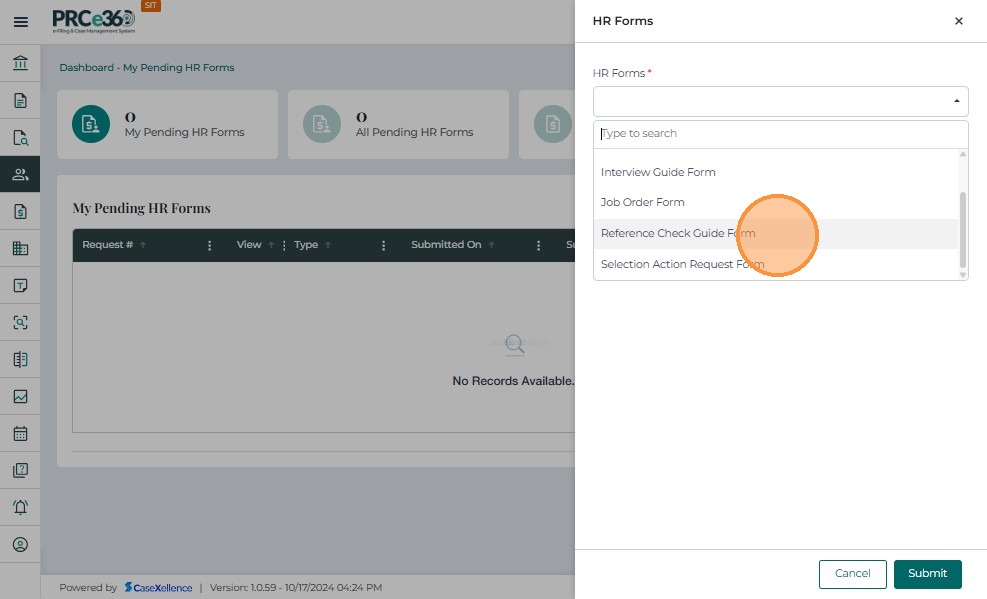
- Click the dropdown to view the available HR forms.
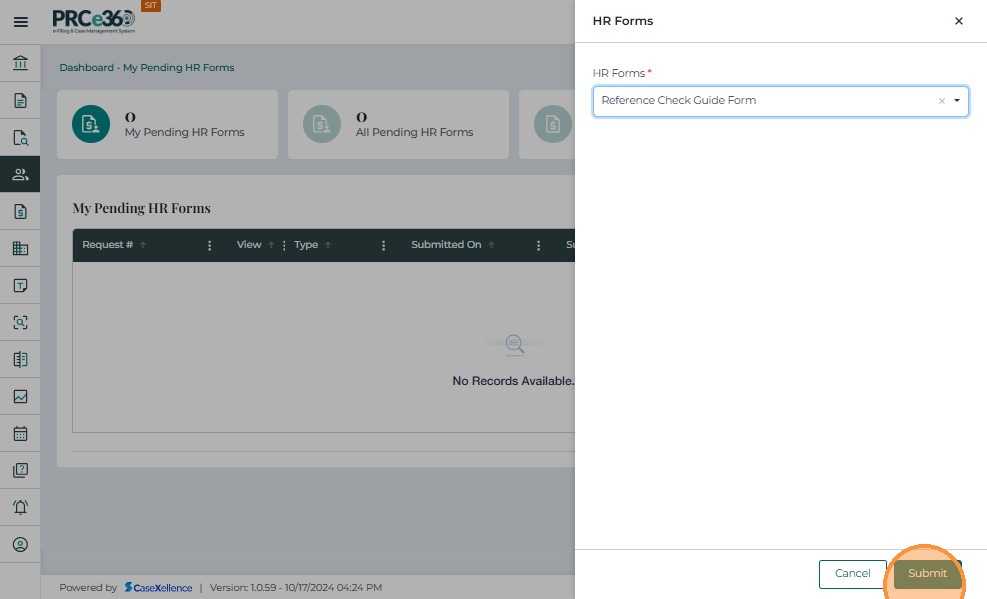
- Select Reference Check Guide Form.
- Once Reference Check Guide Form is selected, click Submit in the lower-right corner.
- The system opens the Reference Check Guide Form page, where you can begin entering the reference details.
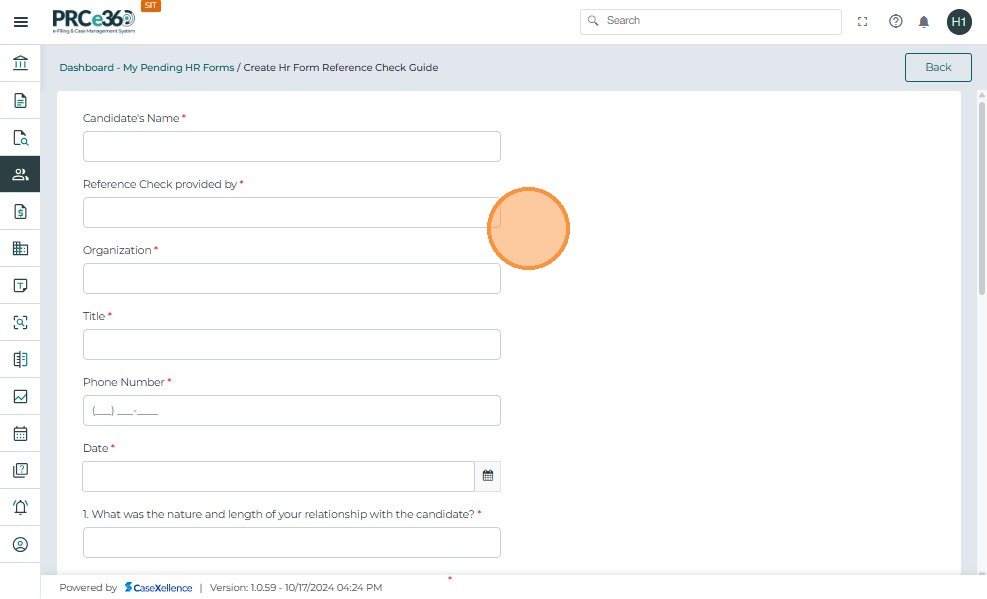
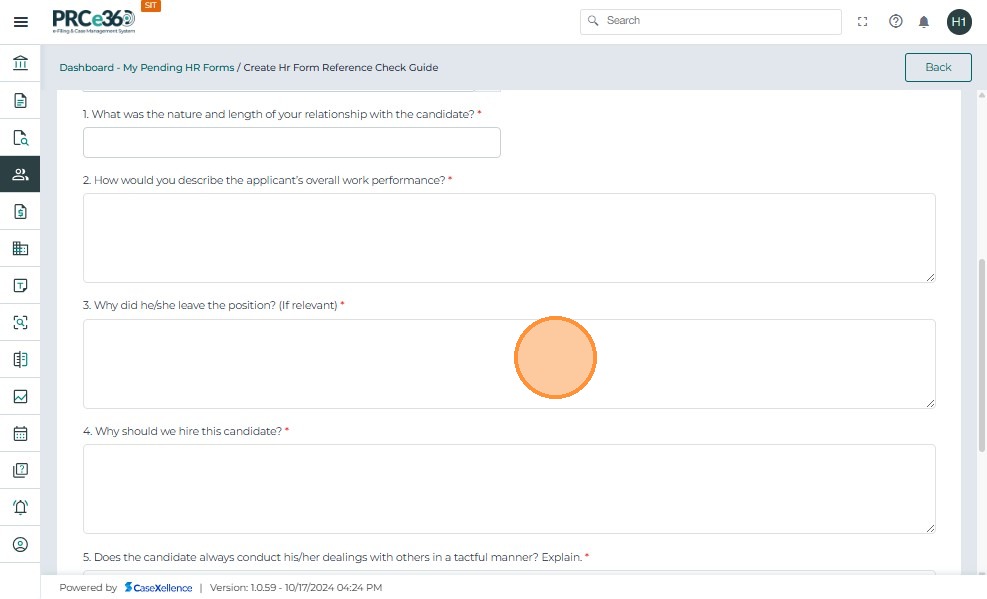
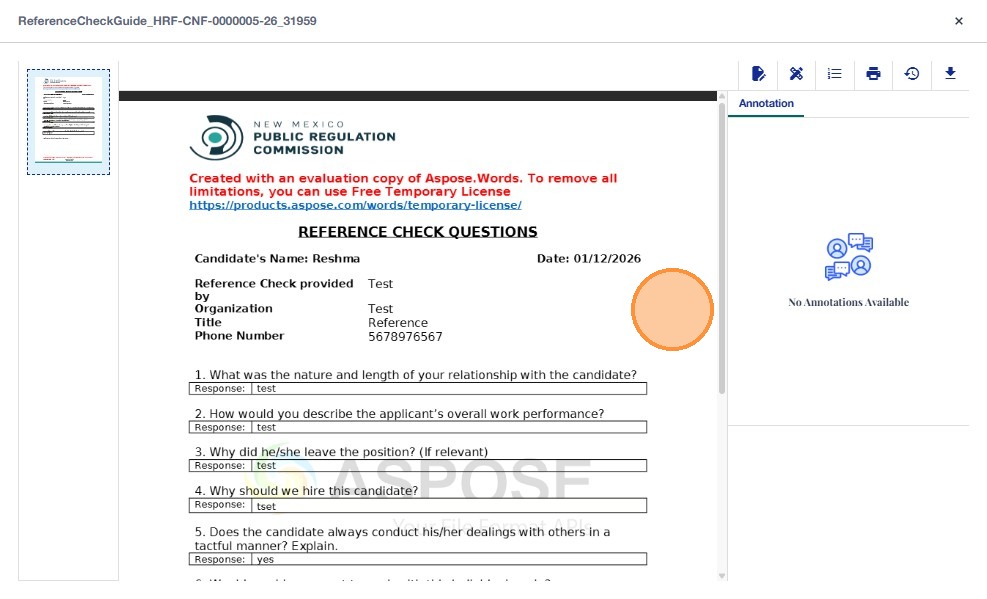
When the Reference Check Guide Form opens, enter the following details:
- Candidate’s Name
- Reference Check Provided By
- Organization
- Title
- Phone Number
- Date
- Any additional details requested in the form fields.
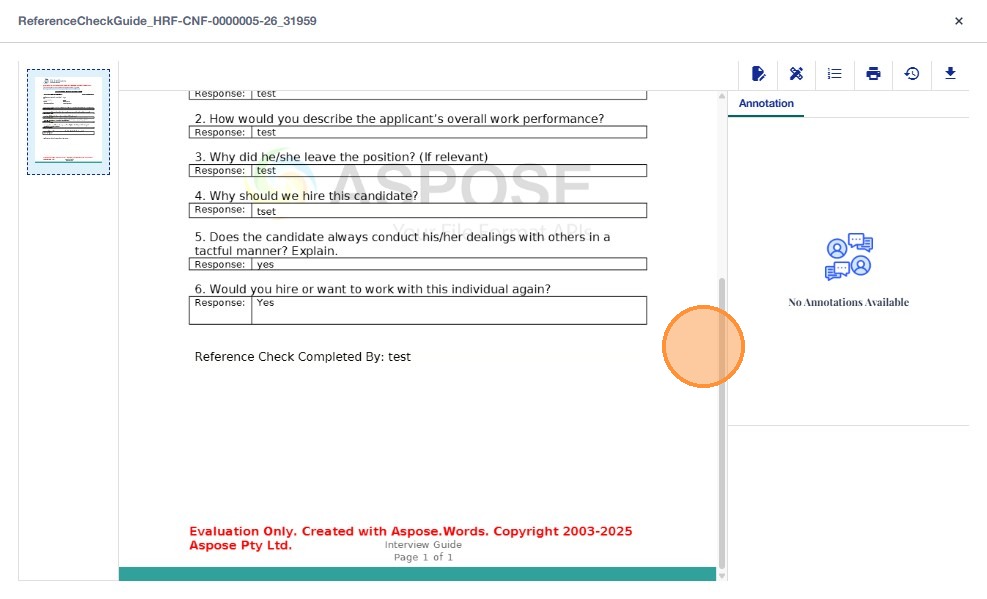
In the feedback section:
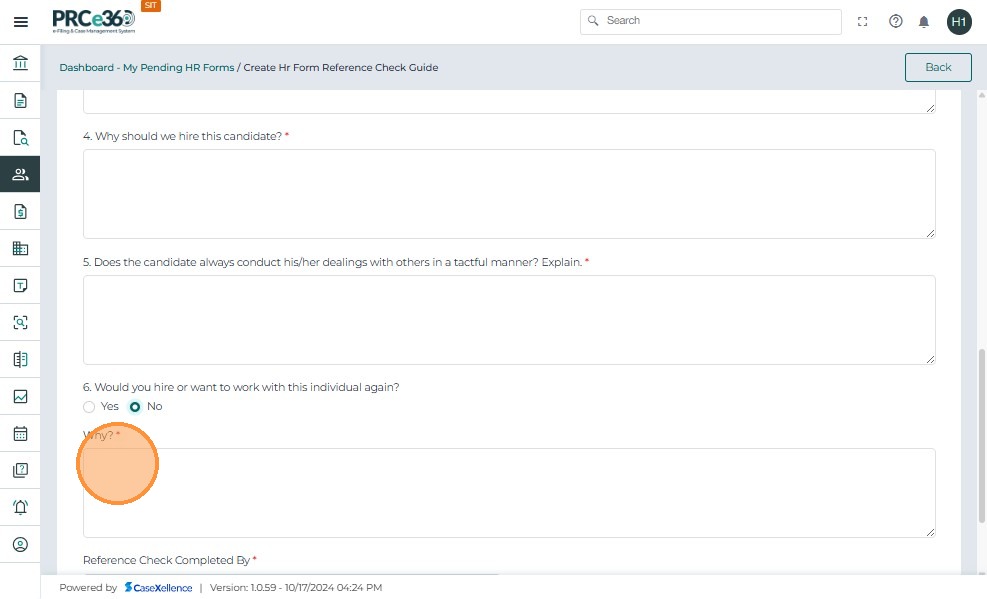
- Click Yes if the reference would be willing to work with the candidate again.
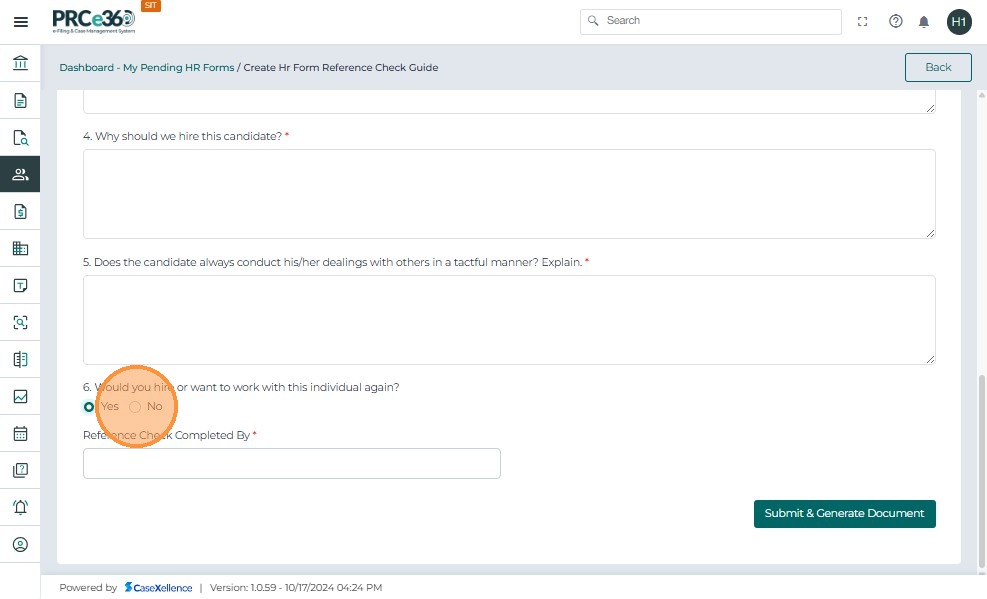
- Click No if the reference would not be willing to work with the candidate again.
- If No is selected, provide the reasons in the comments field.
- Complete any remaining fields and narrative responses as shown on the template.
- Once all details are entered, click Submit.
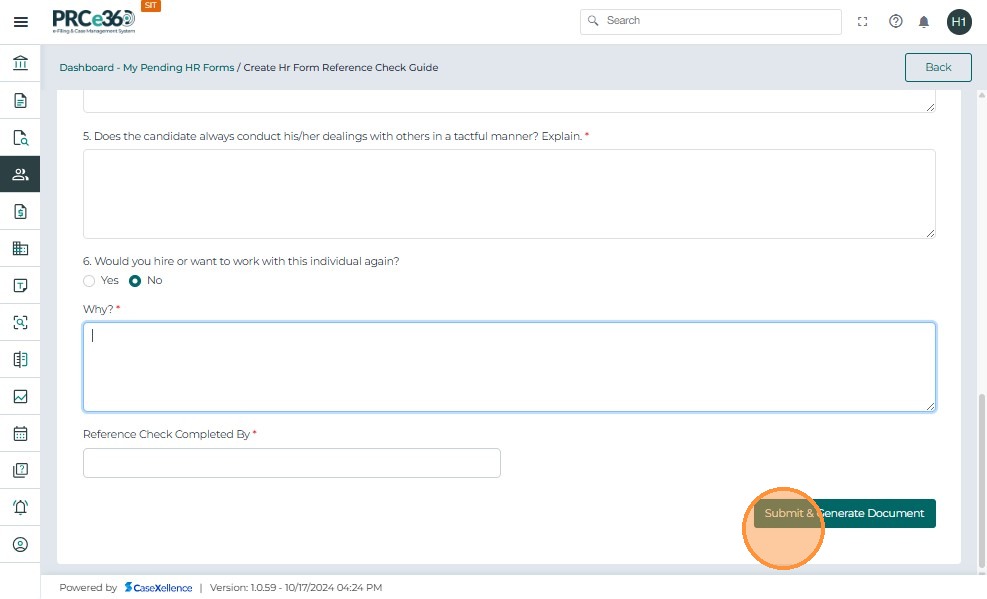
- After submission, a confirmation message appears with the confirmation number.

- Click Go Back to return to the HR Dashboard.
View Completed Reference Check Guide Forms
- Click the All Completed HR Forms queue to view all completed HR forms submitted.
- You can also click My Completed HR Forms to view forms completed by the logged-in user.
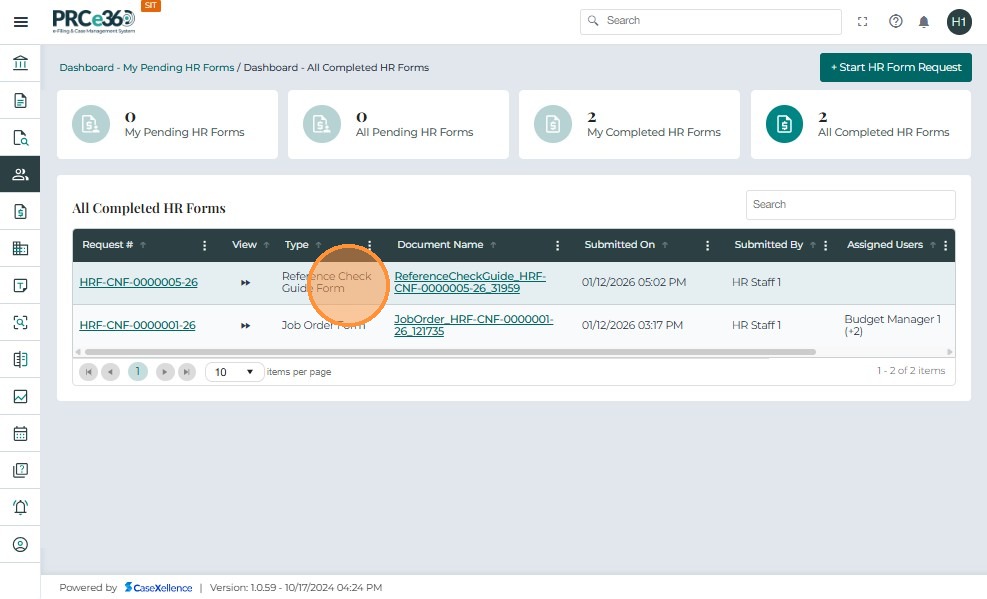
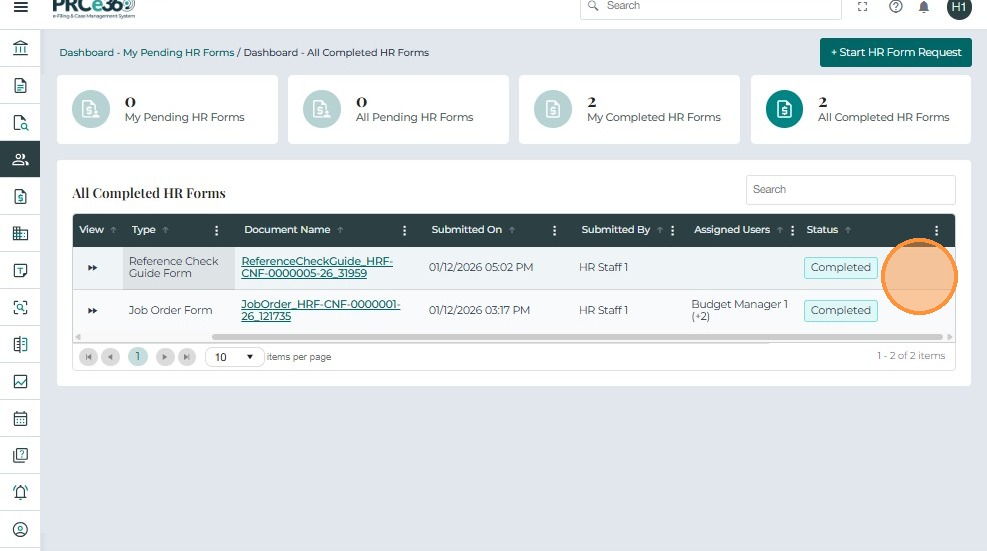
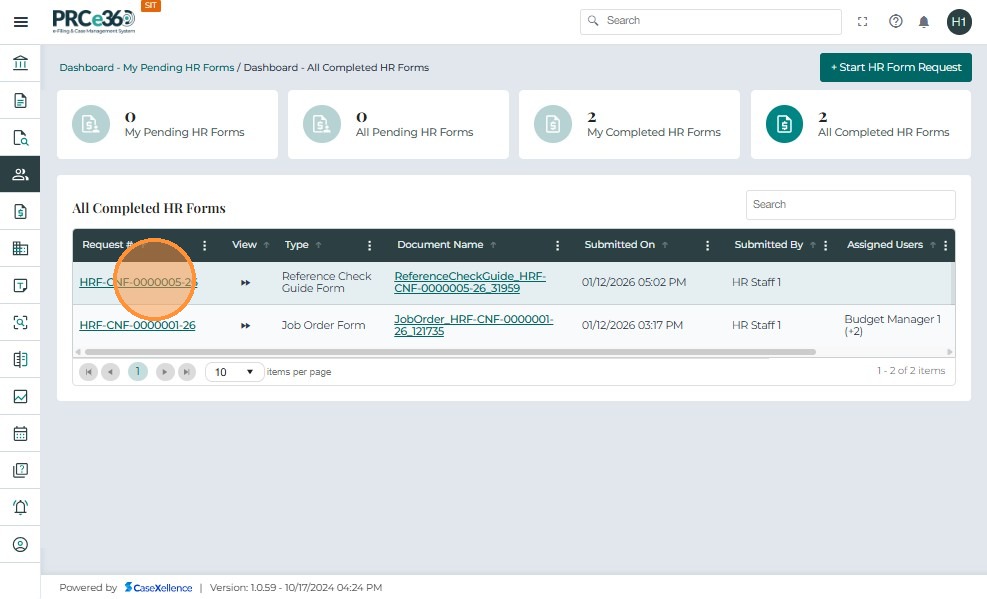
The system displays a list of completed forms with details such as:
-
Request # – Unique confirmation number for each submission
-
Type – The HR form type (e.g., Reference Check Guide Form)
-
Document Name – Auto-generated file name for the PDF
-
Submitted On – Date and time of submission
-
Submitted By – The HR user who submitted the form
-
Assigned Users – Roles assigned to the form
-
Status – Displays as Completed
-
Click the Request # to open the submitted Reference Check Guide Form.
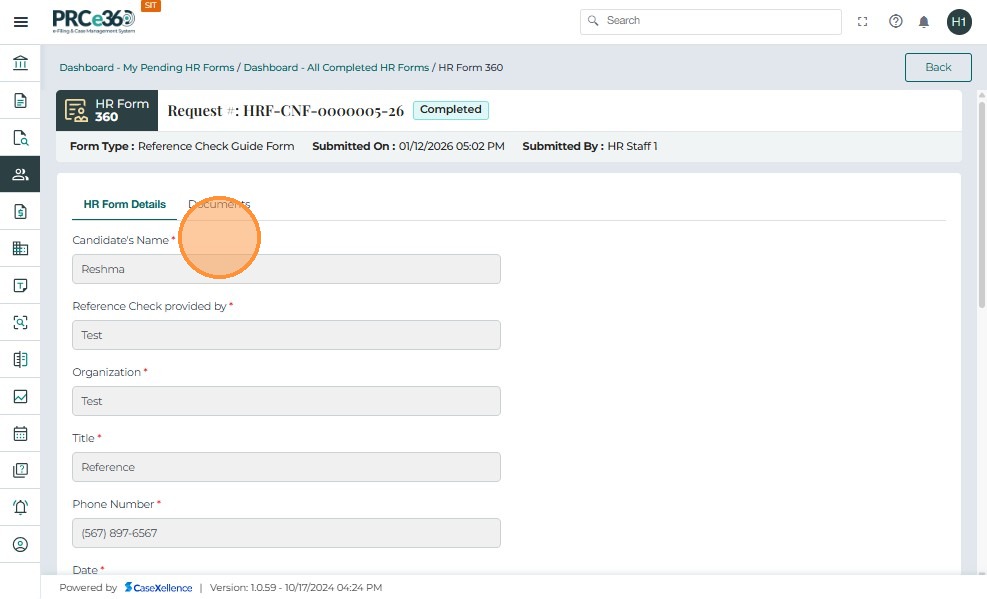
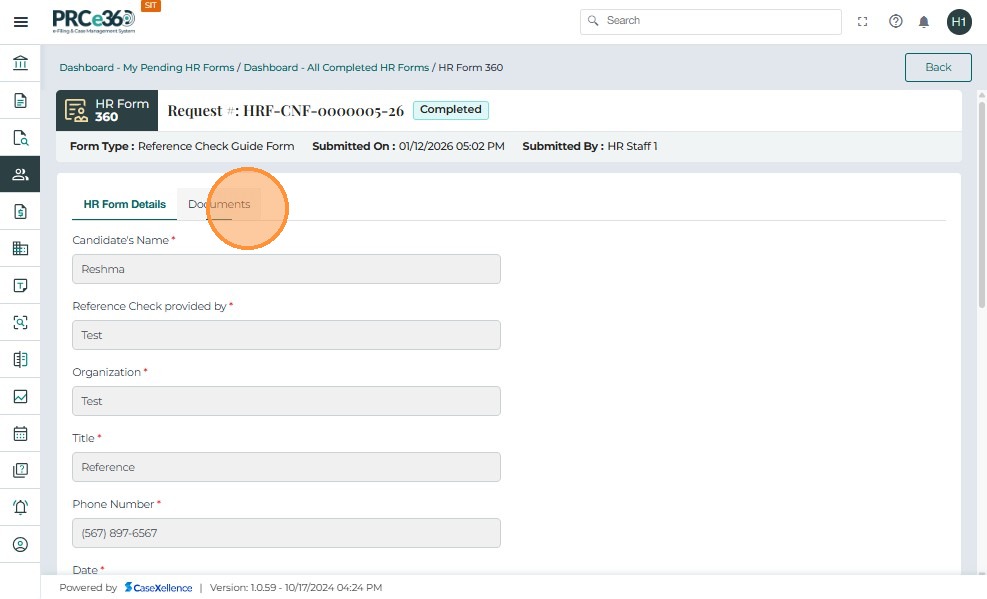
- The Reference Check Guide Form 360 view opens.
- The HR Form Details tab displays all details that were entered previously by the user.
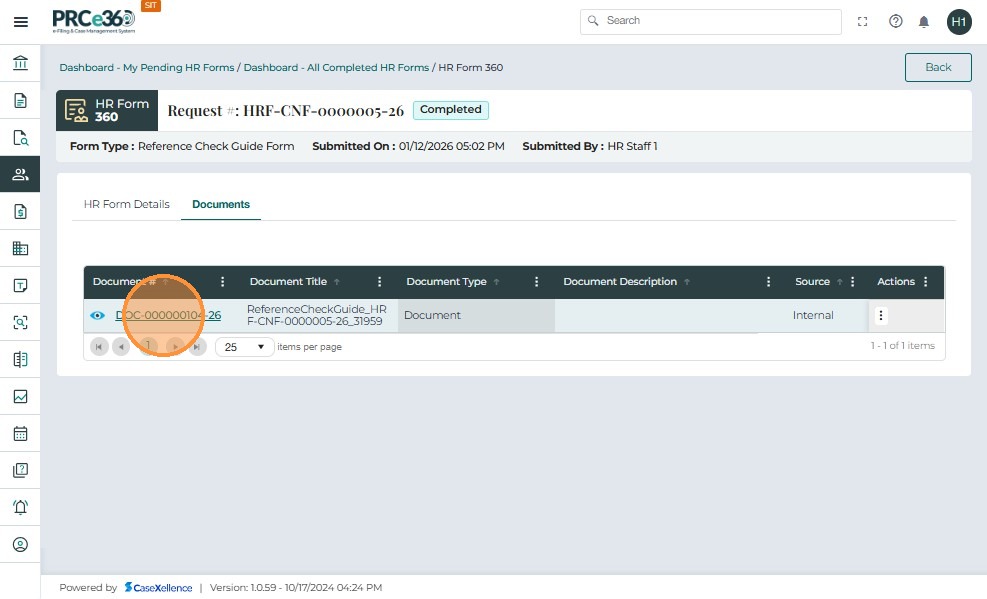
- The Documents tab lists the Reference Check Guide document for further viewing or editing (where permitted).
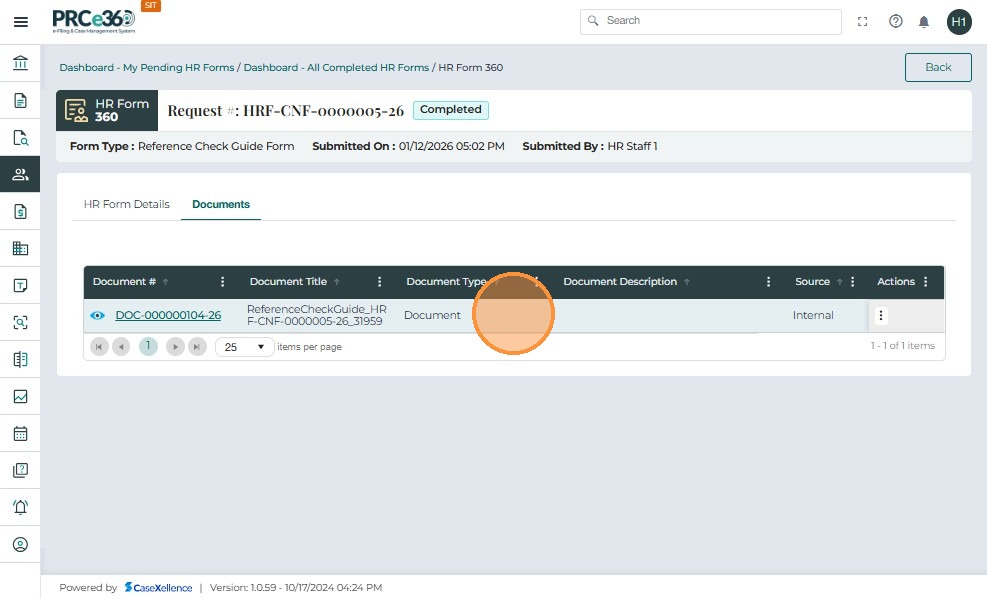
The Documents list displays:
-
Document # – Unique identifier for each document
-
Document Title – Name or short description
-
Document Type – Type/category of the document
-
Document Description – Description of the document
-
Source – Source system of the document
-
Storage Site – Document storage location
-
Storage Checkout – Indicates whether the document is checked out
-
Storage Checked Out By – Name/role of the user who checked out the document
-
Actions – Menu of available actions for the document
-
Click the Document # to open the Reference Check Guide document.
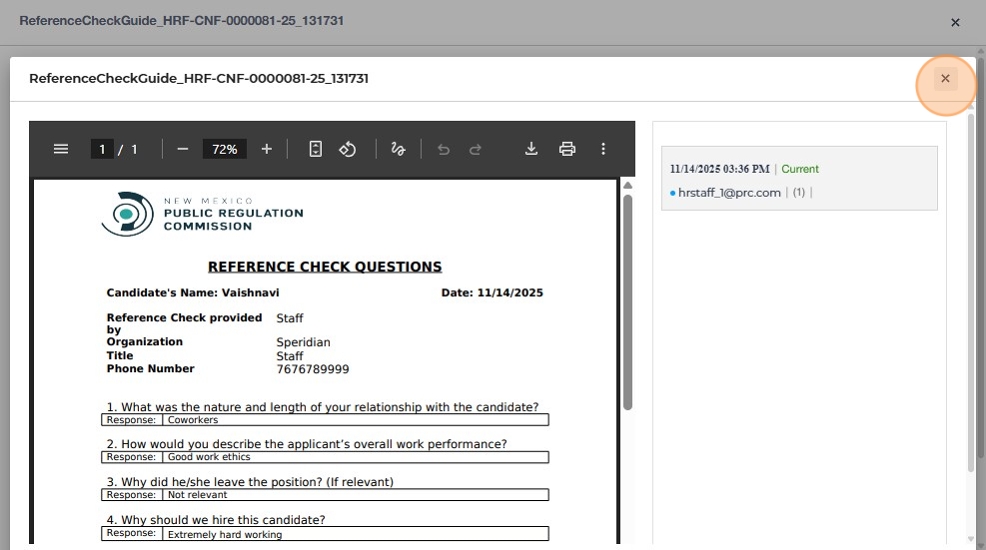
- The Reference Check Guide template is displayed with the entered details autofilled.
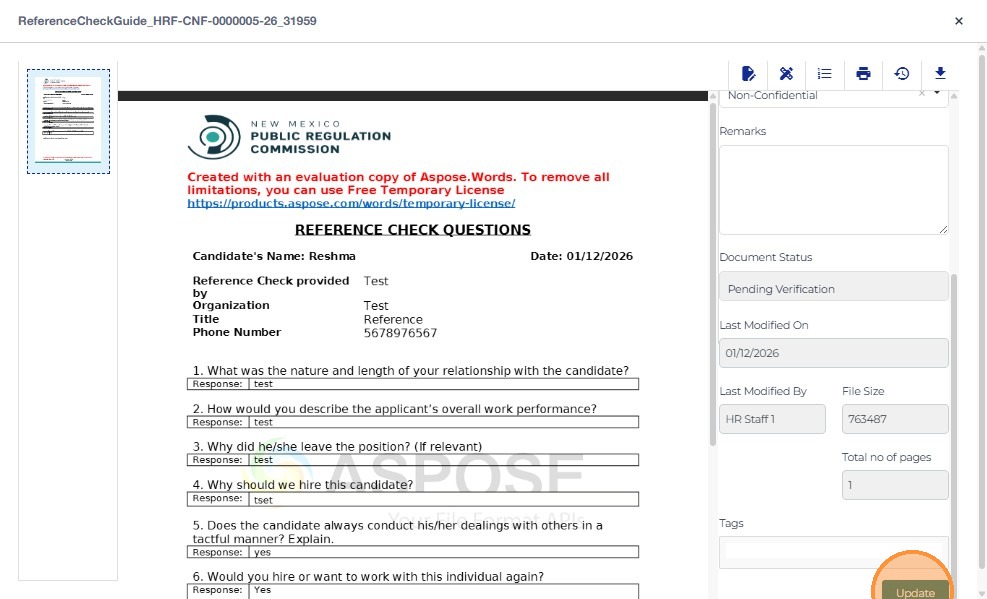
Document Properties, Review, and Actions
- To see the properties of the document, click the first icon on the top-right of the viewer.
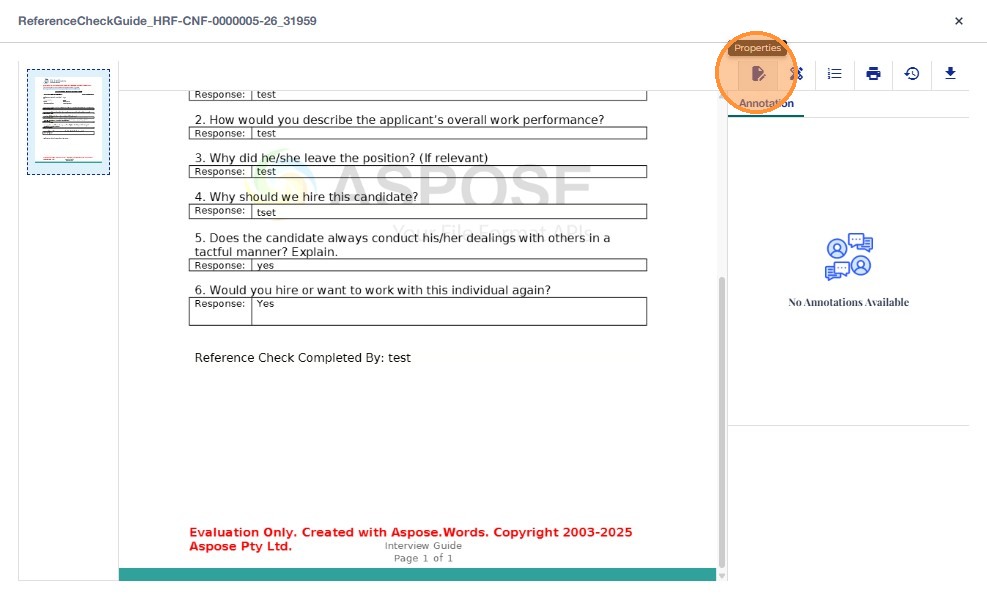
- The Document Properties tab shows the document details.
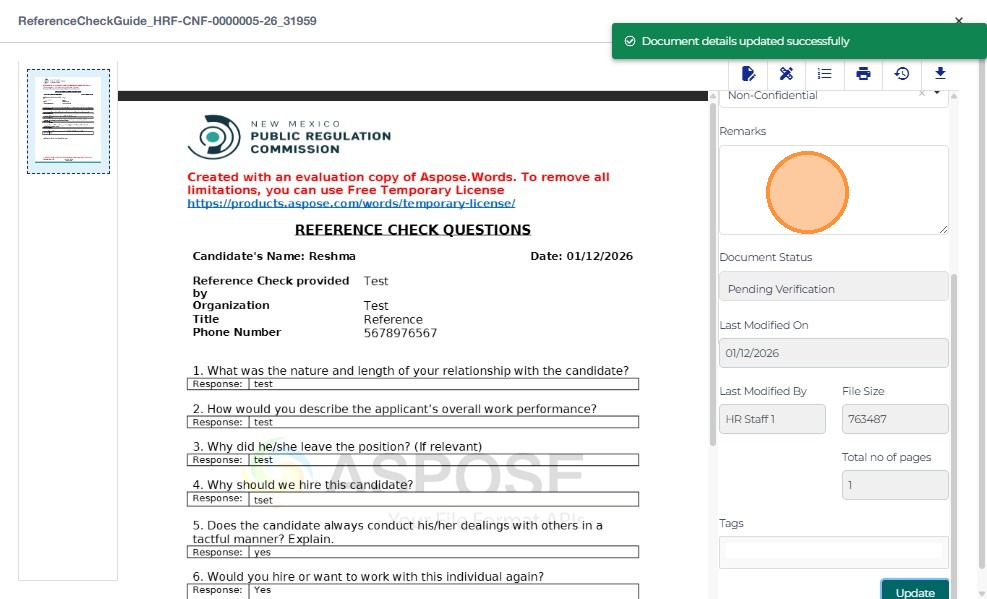
- The user can add or update details as needed.
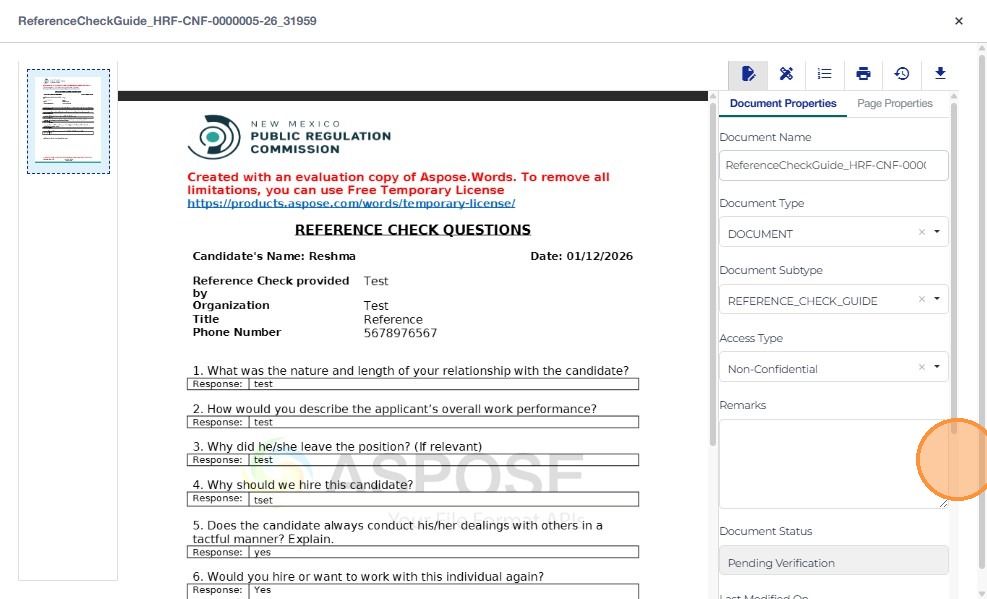
- After updating details, click Update to save.
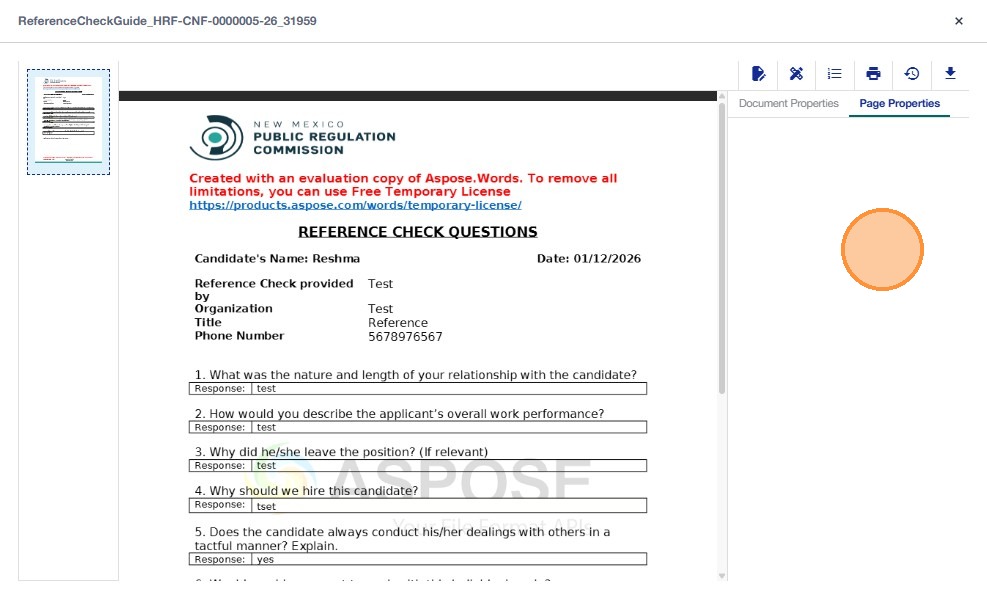
- The Page Properties tab shows page-level details, if any are configured.
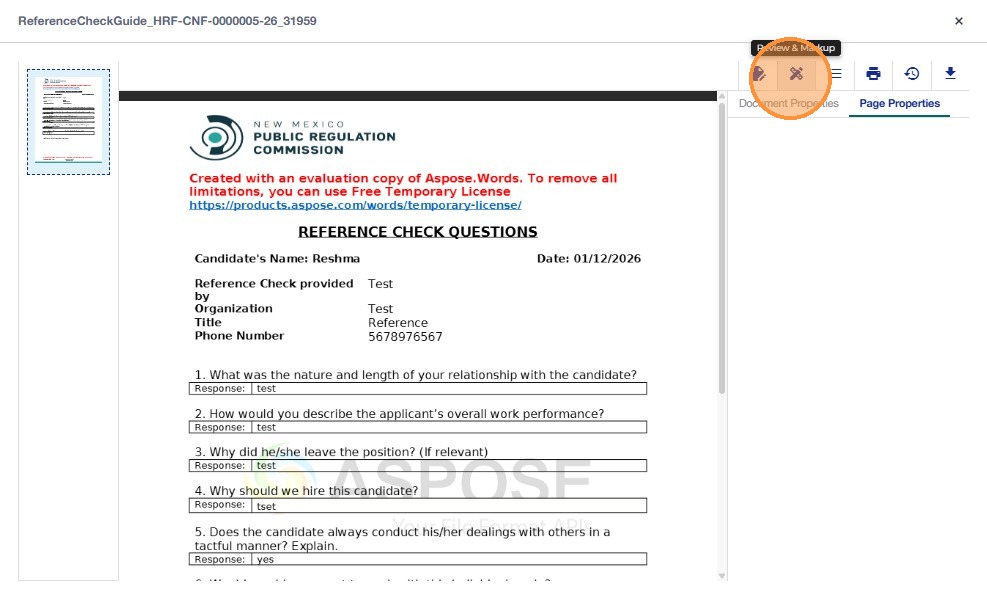
- To add review or markup, click the second icon (Review & Markup).
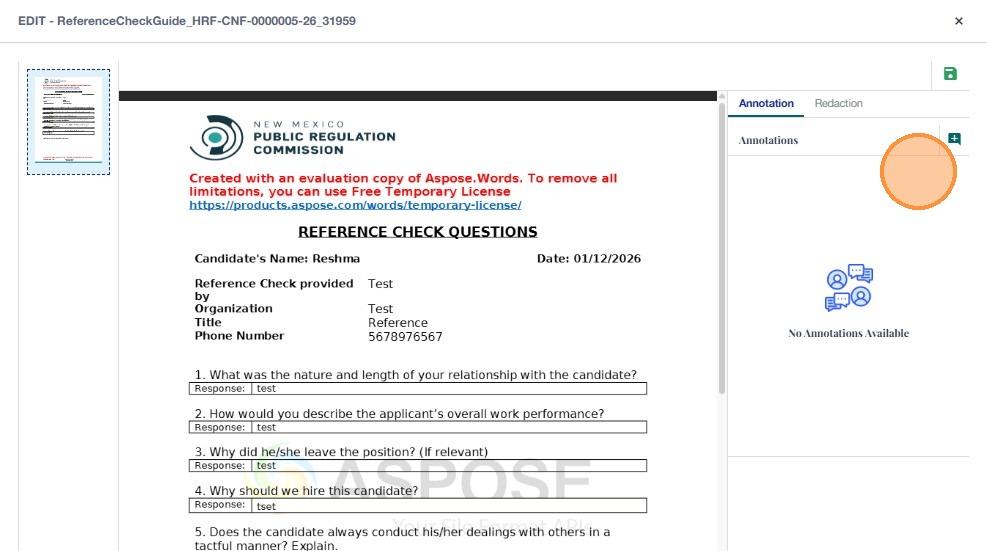
- Click the Save icon to save changes or create a new document version.

- Click the Print icon to print the document.

- Click the History icon to view version history and document changes.

- To download the template or completed document, click the Download icon on the top-right.

- When finished viewing or editing, click X at the top-right to return to the HR Form 360 view.

Using Document Actions (Check Out, Edit, More Details, Notes)
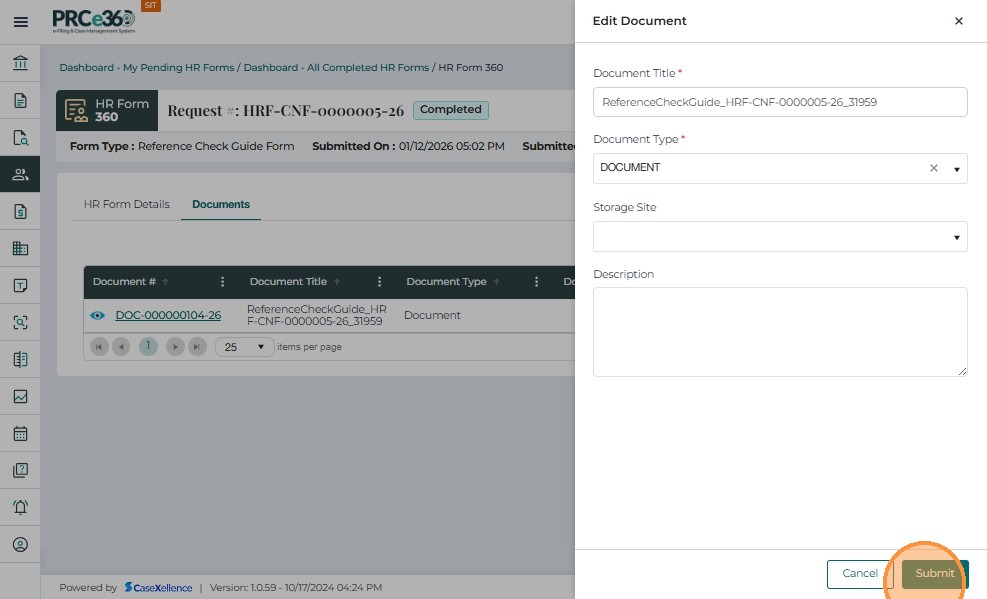
- From the Documents tab, click Actions to see available options.
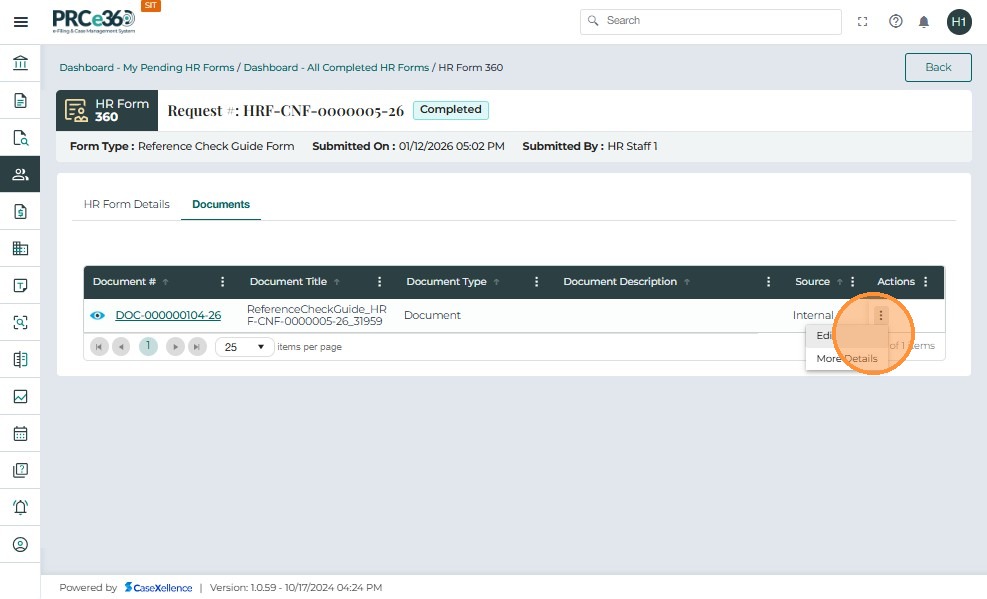
-
Click Edit from Actions to update document details (e.g., title, description, type, storage site).
-
Once the details are edited, click Submit.
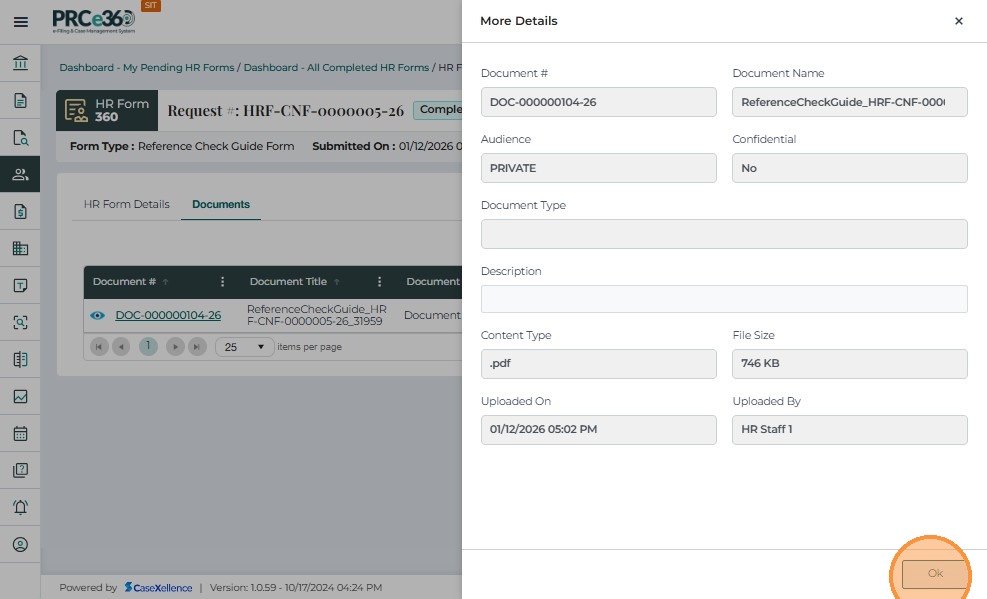
- Click More Details from Actions to view additional metadata and system details for the document.

- The Assignments tab shows the list of users assigned to this HR form.

- The Notes tab allows the user to add notes related to this HR form.

- Click Add New to add a new note.

- Enter the Title and Description, then click Submit to add the note.


- Click the Back button in the top-right corner to return to the HR Dashboard.